


So, you want to get into eyeshadow but feel lost? It's okay, we've all been there. Trying to figure out how to apply eyeshadow for beginners can seem like a puzzle, especially with all the fancy terms and techniques out there. But it's not as complicated as it looks. We're going to break it down, step-by-step, so you can start creating looks you love without the stress. Let's get your eyes looking amazing!
Key Takeaways
-
Start with the basics: know your lid space and the general idea of where colors go.
-
Get the right tools; a few good brushes make a big difference.
-
Prep your eyelids so your shadow stays put and looks good all day.
-
Follow a simple 5-step process for applying your eyeshadow.
-
Learn how to switch up your look from a subtle everyday style to something more glam using the same palette.
-
Understand how different eye shapes might change where you place your shadow.
-
Practice blending—it's the trick to making your eyeshadow look polished.
-
Learn how to take off your makeup gently to keep your skin healthy.
The eyeshadow basics every beginner needs to know
So, you're ready to dip your toes into the wonderful world of eyeshadow? It might seem a little intimidating at first, but it's doable. We're going to break it all down, step by step, so you can feel confident. Think of this as your friendly intro to eyeshadow for beginners step by step.
First off, let's talk about the actual makeup. Eyeshadows come in different finishes: matte, satin, shimmer, and metallic. Mattes are great for everyday looks and for creating depth. Satins have a slight sheen, shimmers have noticeable sparkle, and metallics are super reflective and bold. For beginners, starting with a few matte shades and maybe one or two subtle shimmers is a good plan. You'll find that many palettes, like the ones from Fable Cosmetics, offer a nice mix to play with.
The most important thing to remember is that eyeshadow is buildable. You can always add more color, but it's harder to take it away. So, start light and gradually add intensity.
Here are a few key things to keep in mind:
-
Color Theory Basics: You don't need to be an artist, but knowing a little about color can help. Complementary colors (like blue and orange) make each other pop. Analogous colors (like blue and green) create a harmonious look. Warm colors (reds, oranges, yellows) tend to bring things forward, while cool colors (blues, purples, greens) tend to recede.
-
Placement Matters: Where you put your shadow makes a big difference. Lighter shades usually go on the lid or inner corner to brighten. Deeper shades are often used in the crease to add dimension or on the outer corner to add definition. A transition shade, usually a medium matte, is key for blending colors together smoothly in the crease.
-
Blending is Your Best Friend: This is the secret sauce. Blending is what makes your eyeshadow look polished and not like stripes. We'll get into this more later, but for now, just know that soft, diffused edges are the goal.
Don't be afraid to experiment! Makeup is temporary, and it's all about having fun and figuring out what you like. If a look doesn't turn out how you imagined, you can always wash it off and try again. That's the beauty of an eyeshadow tutorial beginners can actually follow.
Understanding these basics will make following any eyeshadow for beginners step by step guide so much easier. We're building a solid foundation here, so you can create amazing looks!
The tools that make or break your eye look
Okay, so you've got your eyeshadow, but what about the stuff you actually use to put it on? It might seem like a small detail, but the right tools can seriously change your game. Using your fingers is fine for a quick swipe of shimmer, but for anything more, you'll want some brushes. Don't go crazy and buy a million; a few good ones will get you far.
Here are the must-haves:
-
Fluffy Blending Brush: This is your best friend for softening edges and making colors melt together. Look for one with soft, tapered bristles that aren't too dense. You'll use this a lot.
-
Flat Shader Brush: Perfect for packing color onto your lid. The flatter and denser the bristles, the more pigment you'll get onto your skin.
-
Pencil Brush: This little guy is great for precise application, like in the outer corner or along your lower lash line. It's like a tiny detailer for your eyes.
-
Angled Brush: Super handy for creating a sharp liner look with shadow, or for filling in brows.
The most important thing is how the brush feels in your hand and how it picks up and deposits color. A good brush set makes a significant difference in blending and application. Fable's Enchanted Ensemble 18-Piece Brush Set has everything a beginner needs to get started.
You don't need the most expensive brushes out there. What matters is that they are designed for the job and that you know how to use them. Start with the basics, and you'll be surprised at what you can create.
How to prep your lids for long-wearing color
Okay, so you've got your brushes, you've got your shadows, but before we even think about applying color, we need to get your eyelids ready. Think of it like prepping a canvas before you paint – you wouldn't just slap paint on a rough surface, right? Your eyelids are the same. A little prep work goes a long way to making sure your eyeshadow stays put and looks smooth all day (or night!).
First things first, make sure your lids are clean and dry. Any leftover moisturizer or oils can make your shadow slide right off. A gentle swipe with a makeup remover wipe or a bit of micellar water on a cotton pad works wonders. Just let it dry completely before moving on.
Now, for the magic ingredient: primer! An eyeshadow primer is your best friend for long-lasting color. It creates a smooth base, helps colors pop, and stops them from creasing into those little lines. You only need a tiny amount – a little dab will do. Gently pat it all over your lid, from your lash line up to your brow bone. Let it set for about 30 seconds to a minute. It should feel slightly tacky, not wet.
If you don't have a dedicated primer, don't worry! You can use a bit of concealer. Just apply a thin layer and blend it out really well. It acts similarly by giving your shadow something to grip onto. Once the concealer is blended, you can lightly dust a bit of translucent setting powder over it. This helps to set the concealer and gives an even smoother surface for your eyeshadow.
This simple step is the secret weapon for preventing fallout and ensuring your eyeshadow looks as good at the end of the day as it did when you first applied it. It's a game-changer.
Some people also like to use a bit of a cream shadow or a base color as their primer. This can be a great way to add a little extra depth or to make shimmers really shine. If you're using a cream product, make sure to blend it out thoroughly so there are no harsh lines. For a more natural look, you can even skip the primer and just use a light dusting of powder, especially if you have naturally matte lids. But for serious staying power, especially with vibrant shades like those in the Fable eyeshadow palettes, primer is the way to go. It really makes a difference in how the color applies and how long it lasts.
The 5-step eyeshadow application method
Alright, let's get down to business with a simple, five-step eyeshadow application technique that you can master. This is where the magic happens, and it’s not as scary as it sounds!
First up, you'll want to lay down a base color. Think of this as your canvas. Pick a shade that’s close to your skin tone or a light neutral. Pat this all over your eyelid, from the lash line up to the crease. This helps your other shadows stick better and makes blending way easier later on. You can find some great starter shades in the Fable eyeshadow palettes.
Next, we’re going to add some depth. Grab a slightly darker shade – maybe a soft brown or taupe. Using a fluffy brush, gently sweep this color into your crease. This is where you start to build dimension. Focus on windshield-wiper motions, back and forth, keeping the color concentrated in the crease area. This is a key part of how to blend eyeshadow.
Now for the lid color. Pick a shade you love – maybe something shimmery or a deeper matte. Apply this directly onto your eyelid, below the crease color. You can use your finger for more pigment payoff or a flat brush. Don't worry about blending it perfectly with the crease color just yet; we'll get there.
Step four is all about defining the outer corner. Take that darker shade you used in the crease, or even a slightly darker one, and apply it to the outer 'V' of your eye. This adds shape and makes your eyes pop. Blend it inwards slightly, connecting it with the lid color, but keep it mostly on the outer edge. This eyeshadow application technique really helps to shape the eye.
Finally, let's blend it all together. This is the most important part of how to blend eyeshadow. Use a clean, fluffy brush and go over the edges where your colors meet. Lightly buff the lines away until everything looks smooth and seamless. You want soft transitions, not harsh lines. A little bit of blending goes a long way to make your look polished. Remember, practice makes perfect, and even a little bit of blending can make a big difference in your eye look.
Don't be afraid to experiment with different shades and brushes. The goal is to have fun and find what works for you. Every application is a learning opportunity, and you'll get better with each try.
Building everyday vs glam looks from the same palette
So, you've got your eyeshadow palette, maybe something like the Fable "Chapter One" palette, and you're wondering how to get more than just one look out of it. It's doable! The secret is in how you use the shades and how much you blend.
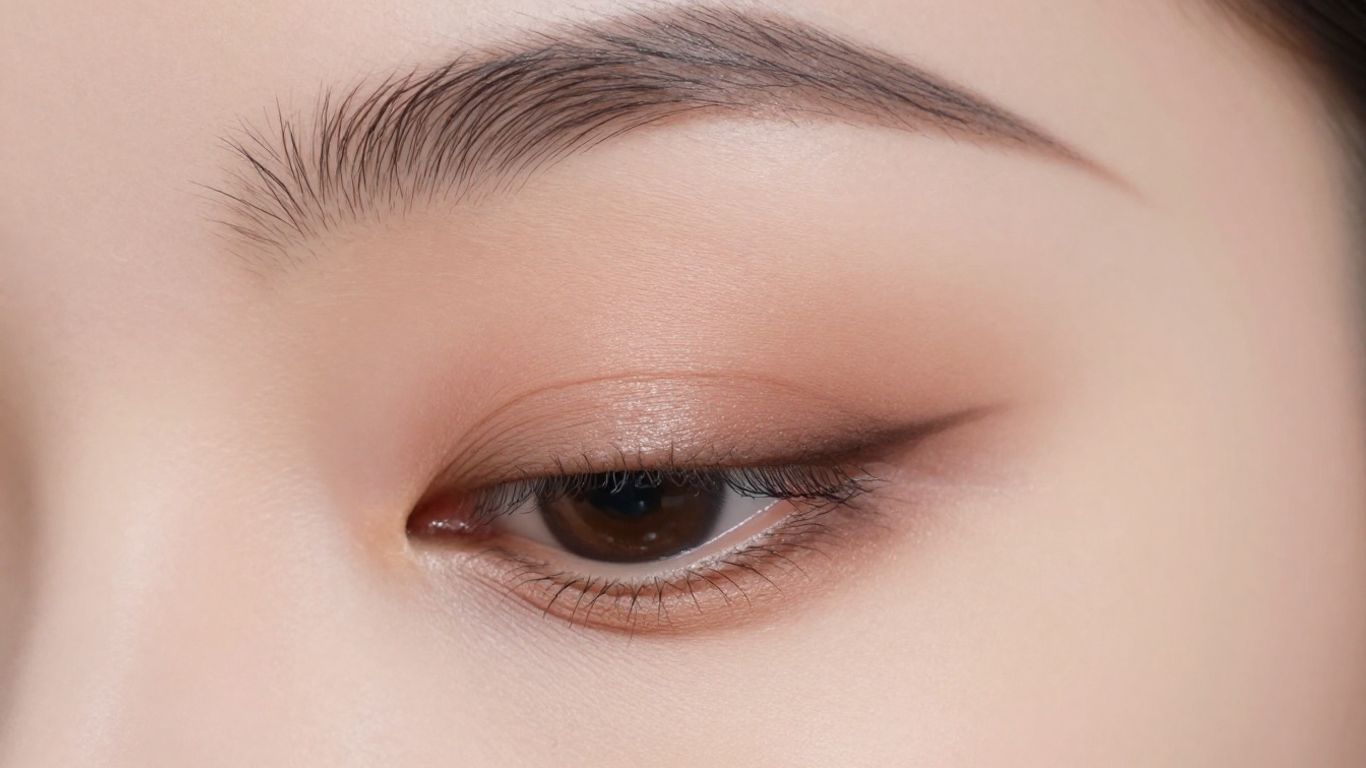
For an everyday look, think subtle. You want to use the lighter, neutral shades for the most part. Apply a light wash of a shimmery shade all over your lid. Then, take a slightly darker matte shade and pop it into your crease. This adds just a little bit of dimension without being too much for daytime. You can even use a tiny bit of that darker shade under your lower lash line for a bit of definition. The key is to keep the color payoff soft and blended. It’s all about looking polished, not like you’re heading to a party.
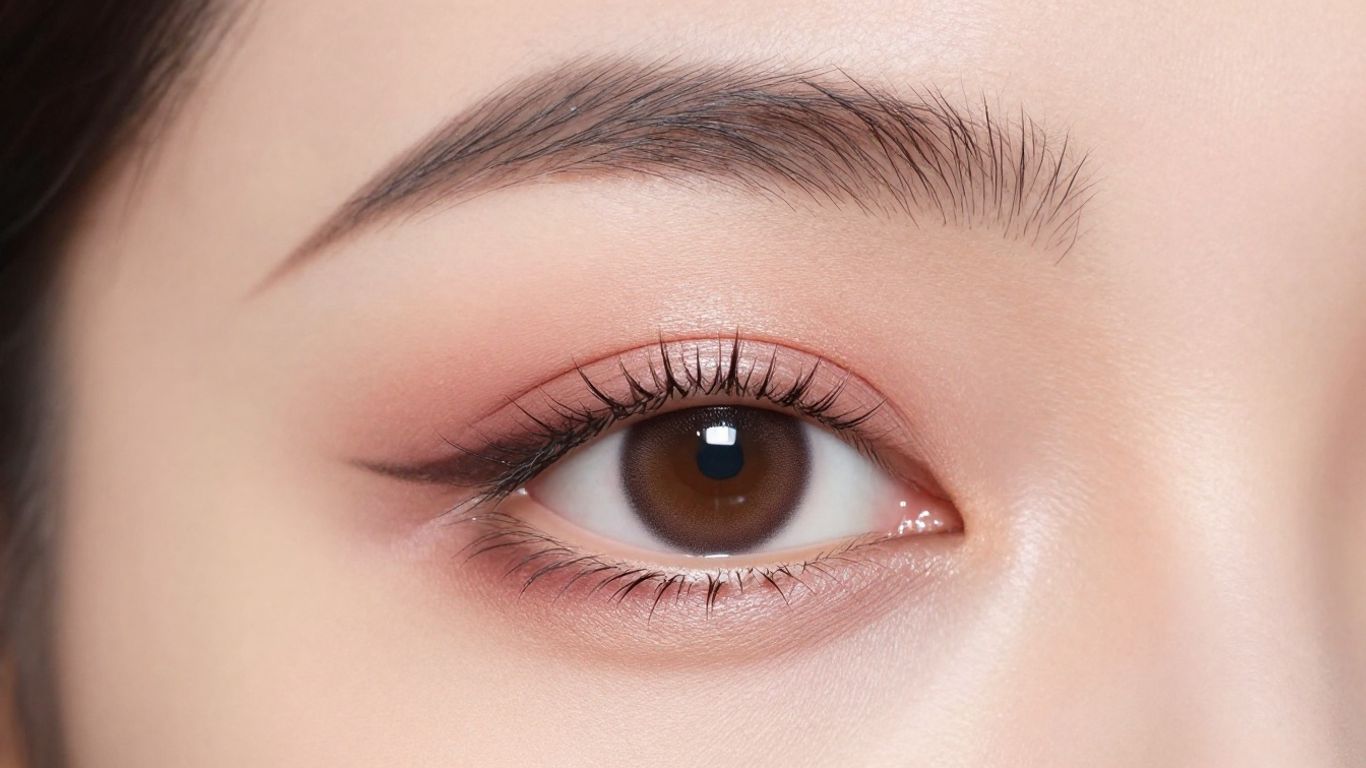
Now, for a glam look? It's time to bring out the drama! You'll want to use those deeper, richer shades. Start by applying a darker matte shade all over your lid and into the crease, really building up the color. Then, take a shimmery or metallic shade and pack it onto your lid, right in the center, for a pop. You can also use a dark shade, like a deep brown or black, along your upper lash line to create a more intense liner effect, or even smudge it out for a smoky vibe. Don't forget to blend, blend, blend! For a truly glam look, you might want to try a soft brown winged eyeliner to add that extra touch of sophistication.
Here’s a quick breakdown:
-
Everyday: Light shades on lid, slightly darker matte in crease, minimal blending.
-
Glam: Deeper shades on lid and crease, intense color payoff, more blending, potential for liner or smoky effects.
It’s really about playing with the intensity and placement of the colors. You can even use the same palette to create a gradient effect, going from light to dark as you move towards the outer corner of your eye. Don't be afraid to experiment! You might surprise yourself with what you can create.
Remember, the tools you use and how well you prep your lids play a huge role in how these looks turn out. Good blending is your best friend for both styles!
Eye shape variations
Okay, so you've got your tools, your primer, and you're ready to start playing with color. But wait! Before you just slap some shadow on, let's chat about your unique eye shape. Knowing this can make a huge difference in how your eyeshadow looks and how it flatters your features. It's not about fitting into a box, but about working with what you've got.
Think of it like this: different shapes need slightly different approaches to really make them pop. What works for one person might not be the best for another, and that's fine. We're all about celebrating your natural beauty here.
Here are a few common eye shapes and some tips:
-
Monolid: This shape doesn't have a visible crease. The trick here is to create the illusion of depth. You can do this by applying a darker shade slightly above where a crease would naturally be, and then blending a lighter shade on the lid itself. Think about using a pop of shimmer right in the center of the lid to draw attention.
-
Hooded: The eyelid is partially covered by skin from the brow bone. When your eyes are open, the lid space can look smaller. The key is to bring your shadow up and over the hooded area. Apply your crease color higher than you normally would, so it's visible even when your eyes are open. A good trick is to draw a curved line where you want your crease to be with your eyes open, and then fill it in.
-
Almond: This is often considered the 'classic' shape, where the outer corner is slightly higher than the inner corner. Most eyeshadow techniques work beautifully here. You can focus on defining the outer corner with darker shades and highlighting the inner corner and brow bone.
-
Downturned: The outer corners of your eyes appear to droop slightly. To lift the eye, focus on applying darker shades on the outer third of the lid and extending them slightly upwards and outwards. Avoid bringing shadow too far down on the lower lash line, as this can emphasize the downturn.
-
Upturned: The outer corners of your eyes are higher than the inner corners. You can play up this natural lift by applying shadow along the lower lash line, extending it slightly outwards. Focus darker shades on the outer half of the lid and blend upwards.
The goal is always to make your eyes look balanced and beautiful, whatever your shape.
Don't get discouraged if it takes a few tries to figure out what works best for you. It's a learning process, and experimenting is part of the fun! You might find that certain techniques from the Fable Cosmetics eyeshadow selection work better for your specific eye shape than others. It's all about practice and finding your groove. Remember, makeup is meant to be enjoyed, and there are no strict rules – just guidelines to help you achieve the look you love.
Blending: the one skill that separates beginner from pro
Okay, let's talk about blending. This is where the magic really happens, and honestly, it's not as scary as it sounds. Think of blending as softening the lines between your eyeshadow colors so they look like they're melting into each other, rather than just sitting there in stripes. It’s what makes an eyeshadow look go from 'I tried' to 'Wow, who did your makeup?'
The goal is to create soft transitions, not harsh edges.
So, how do you actually do it? It's all about the brush and the motion. You'll want a fluffy brush – not too dense, not too stiff. A clean blending brush is your best friend here. You're going to use gentle, windshield-wiper motions, or small circles, right where the two colors meet. Don't press too hard! You're not trying to scrub the color away, just diffuse it.
Here’s a simple way to think about it:
-
Start Light: Always begin with a light hand. You can always add more color or blend more, but it's harder to take away too much blending.
-
Work in Layers: Apply your colors first, then go back with your blending brush to soften the edges. It’s like painting – you lay down the base, then you refine.
-
Focus on the Seams: Pay attention to where the colors meet. This is the area that needs the most attention to get that smooth gradient effect. You can even use a slightly lighter shade or just a clean brush to buff out any stubborn lines.
It takes a little practice, for sure. Don't get discouraged if your first few attempts aren't perfect. Keep playing with it! You'll start to feel the difference and see how much softer your looks become. It’s really about patience and a gentle touch. You'll get there, and soon you'll be blending like a pro, making those colors flow together beautifully.
Remember, blending isn't about erasing color; it's about connecting it. Think of it as creating a beautiful gradient, not a muddy mess. A little goes a long way, and a soft touch is key to achieving that polished finish.
Clean eyeshadow formulas and how they behave
So, you're curious about what makes an eyeshadow 'clean,' right? It's a good question! Basically, clean beauty means makeup made without certain ingredients that some people prefer to avoid. Think things like parabens, synthetic fragrances, and talc. Brands that focus on clean formulas often aim for ingredients that are kinder to your skin and the environment. You can find out more about what clean beauty means if you're interested.
When you're working with clean eyeshadows, you might notice they behave a little differently than conventional ones. Some can be super pigmented and blend like a dream, while others might be a bit more sheer and buildable. It really depends on the specific formula and the finish it's designed to give.
Here’s a little breakdown of what you might find:
-
Buttery Mattes: These often feel soft and blend out easily. They might require a bit more layering to get intense color, but they usually don't look chalky.
-
Shimmers and Satins: These can range from subtle glows to high-impact foils. They often have a creamier texture and might apply best with your finger or a damp brush for maximum shine.
-
Glitter Formulas: These can be tricky! Some are pressed glitters that stay put, while others might be looser and require a glitter primer to avoid fallout.
The key is to experiment and see how your specific shadows work. Don't get discouraged if a shadow doesn't perform exactly like you expect right away. Sometimes a different brush or a slightly different application technique makes all the difference. It's all part of the fun of playing with makeup!
How to remove eyeshadow without damaging the eye area
Okay, so you've created a stunning eye look, maybe with your new Fable eyeshadow palettes, and now it's time to take it all off. It might seem simple, but being gentle around your eyes is super important. You don't want to tug or pull, as that delicate skin can get irritated pretty easily.
First things first, grab a good quality makeup remover. Micellar water is a great option for everyday looks, but if you've gone for something more dramatic or waterproof, you might need a dedicated eye makeup remover. These are formulated to break down stubborn pigments without being too harsh.
Here’s a simple method that works wonders:
-
Saturate your cotton pad. Don't be shy with the remover! You want enough to really soak the pad.
-
Press, don't rub. Gently press the soaked pad onto your closed eyelid. Hold it there for about 10-20 seconds. This gives the remover time to dissolve the makeup, especially that tricky mascara.
-
Wipe downwards. After holding, gently sweep the pad downwards, away from your lash line. This helps lift the makeup off your lid and lashes.
-
Repeat if needed. For stubborn bits, especially liner or waterproof mascara, repeat the pressing and wiping process. You might need a fresh cotton pad for the second go.
-
Cleanse your face. Once the eye makeup is gone, follow up with your regular facial cleanser to remove any remaining residue and clean the rest of your face. This is a good step to dissolve mascara and other products.
Remember, the goal is to lift the makeup away, not to scrub it off. Patience is key here. If you're finding it tough, try a different remover or give the pressing method a bit more time. Your eyes will thank you for it!
Some people like to use a specific facial wipe for their eyes, which can be convenient, but always make sure it's designed for eye makeup and that you're still being gentle. Avoid anything with alcohol or strong fragrances, as these can cause redness and irritation. Taking a few extra moments to remove your makeup properly will help keep your skin healthy and happy.
Your first look with the Chapter One palette
Getting started with eyeshadow really just means picking up your palette and giving it a go. So, let’s break down your first eye look using the Fable Cosmetics Chapter One palette. Even if you’ve never touched an eyeshadow brush before, you can pull this off.
You’re not aiming for perfection—it’s about playing, learning, and figuring out what works for you.
Here's how to do your first look:
-
Start by sweeping the palest shade all over your lid with a fluffy brush. This sets your primer and makes other colors blend smoothly.
-
Take a mid-tone matte shade, like a soft taupe, and use a smaller brush to work it into your crease. Use windshield wiper motions. If it looks patchy at first, just keep blending—trust the process.
-
With a flat brush, pat one of the shimmer shades onto the center of your lid. A silvery or coppery tone can really brighten things fast.
-
Optional: Tap a little of the darkest shade at the outer edge of your lid and softly smudge. Go slow at first—add a bit more if you want it deeper.
-
Take a step back and check both eyes. Are they even? If not, just use a clean brush to blend edges till things look smooth.
-
Keep a cotton swab handy to fix any mistakes—no one nails it straight away.
-
Choosing Fable eyeshadow palettes means you’re working with buildable, gentle formulas (great for sensitive lids!)
-
If you end up using your fingers for shimmers, that’s totally fine! Sometimes it gives even more color payoff.
If you’re staring at your finished eyes, wondering if you “did it right,” you probably did. What matters is that you like how it looks—and that you enjoyed the process.
Eyeshadow is a skill that improves with every application. Start with the basics, keep practicing, and let the Chapter One palette be your guide.
Frequently Asked Questions
What are the absolute must-knows before I even touch eyeshadow?
Think of it like this: you need to know the basic colors and where they generally go. Usually, you'll use a lighter shade on your lid, a medium shade in your crease (that fold above your eyelid), and a darker shade on the outer corner for depth. Don't worry too much about perfection at first; just get a feel for the colors.
What makeup tools do I really need to start?
You don't need a million brushes! Grab a fluffy brush for applying color all over your lid and blending, a slightly smaller, denser brush for packing on color, and maybe a tiny brush for the lower lash line or inner corner. A clean finger works great for shimmer shades too!
How can I make my eyeshadow stay on all day?
Prep is key! You want a smooth canvas. Try using an eyeshadow primer or even a bit of concealer. This helps the color pop more and stops it from creasing or fading throughout the day. Let it set for a minute before you start applying shadow.
Can you break down the easiest way to apply eyeshadow?
Sure! Start with a light shade all over your lid. Then, take a medium shade and blend it into your crease. Next, add a darker shade to the outer corner of your eye, blending it inwards. Finally, you can add a pop of light color to your inner corner or under your brow bone. It's straightforward!
How do I switch from a simple daytime look to something more glam?
It's all about intensity and adding details. For daytime, keep the colors softer and the blending diffused. To go glam, amp up the darker shades in the outer corner, maybe add a shimmer or glitter to the lid, and define your lash line with eyeliner. You can also use a deeper shade under your lower lashes.
Does my eye shape really matter when applying makeup?
It can definitely help! Knowing your eye shape helps you place colors and shadows to make your eyes look their best. For example, if you have hooded eyes, you might want to bring your crease color slightly higher. But honestly, the best look is the one you feel good in, so experiment!
What's the secret to blending eyeshadow so it doesn't look patchy?
Blending is your best friend! Use a clean, fluffy brush and go back and forth in windshield-wiper motions in your crease. Start with light pressure and build up. The goal is to soften the edges where colors meet, making it look seamless, not like stripes.
What does 'clean' makeup mean, and how does it affect eyeshadow?
'Clean' beauty usually means the makeup is made without certain ingredients that some people prefer to avoid, like talc or parabens. Clean formulas can sometimes be more pigmented or blend a little differently, but they're often designed to be kinder to your skin. Fable Cosmetics, for example, makes talc-free options!
How do I take off my eyeshadow without hurting my eyes?
Gently is the name of the game. Use a good makeup remover designed for eyes. Soak a cotton pad and hold it over your closed eye for a few seconds to let the makeup dissolve. Then, gently wipe downwards. Avoid rubbing aggressively, as the skin around your eyes is delicate.
What's special about the Chapter One palette?
The Chapter One palette is designed to be super versatile, perfect for beginners! It has a great mix of neutral and slightly deeper shades that work well together. You can create tons of different looks, from a soft wash of color to something more dramatic, all with just these shades.
Can I use my fingers to apply eyeshadow?
Absolutely! Your fingers are great tools, especially for shimmery or metallic shades. The warmth from your finger helps the shadow adhere better and gives you a more intense color payoff. Just make sure your hands are clean before you start.
What if I mess up my eyeshadow application?
Don't worry! Makeup is forgiving. You can often fix mistakes by blending with a clean brush. If you apply too much dark color, a little concealer on a small brush can help clean up the edges. Or, just wipe it off with a makeup wipe and start that step over. It's not permanent!

